Classes may be held in different locations. Information about each class will appear under its heading. If you have questions feel free to email me at suethompson77@yahoo.com or call Sue at 417-252-7477. Drop-ins are welcome if we have room, but class sizes are generally limited. Please register early and pay in advance to be sure you’ll be accommodated in the class you choose.
Class #1
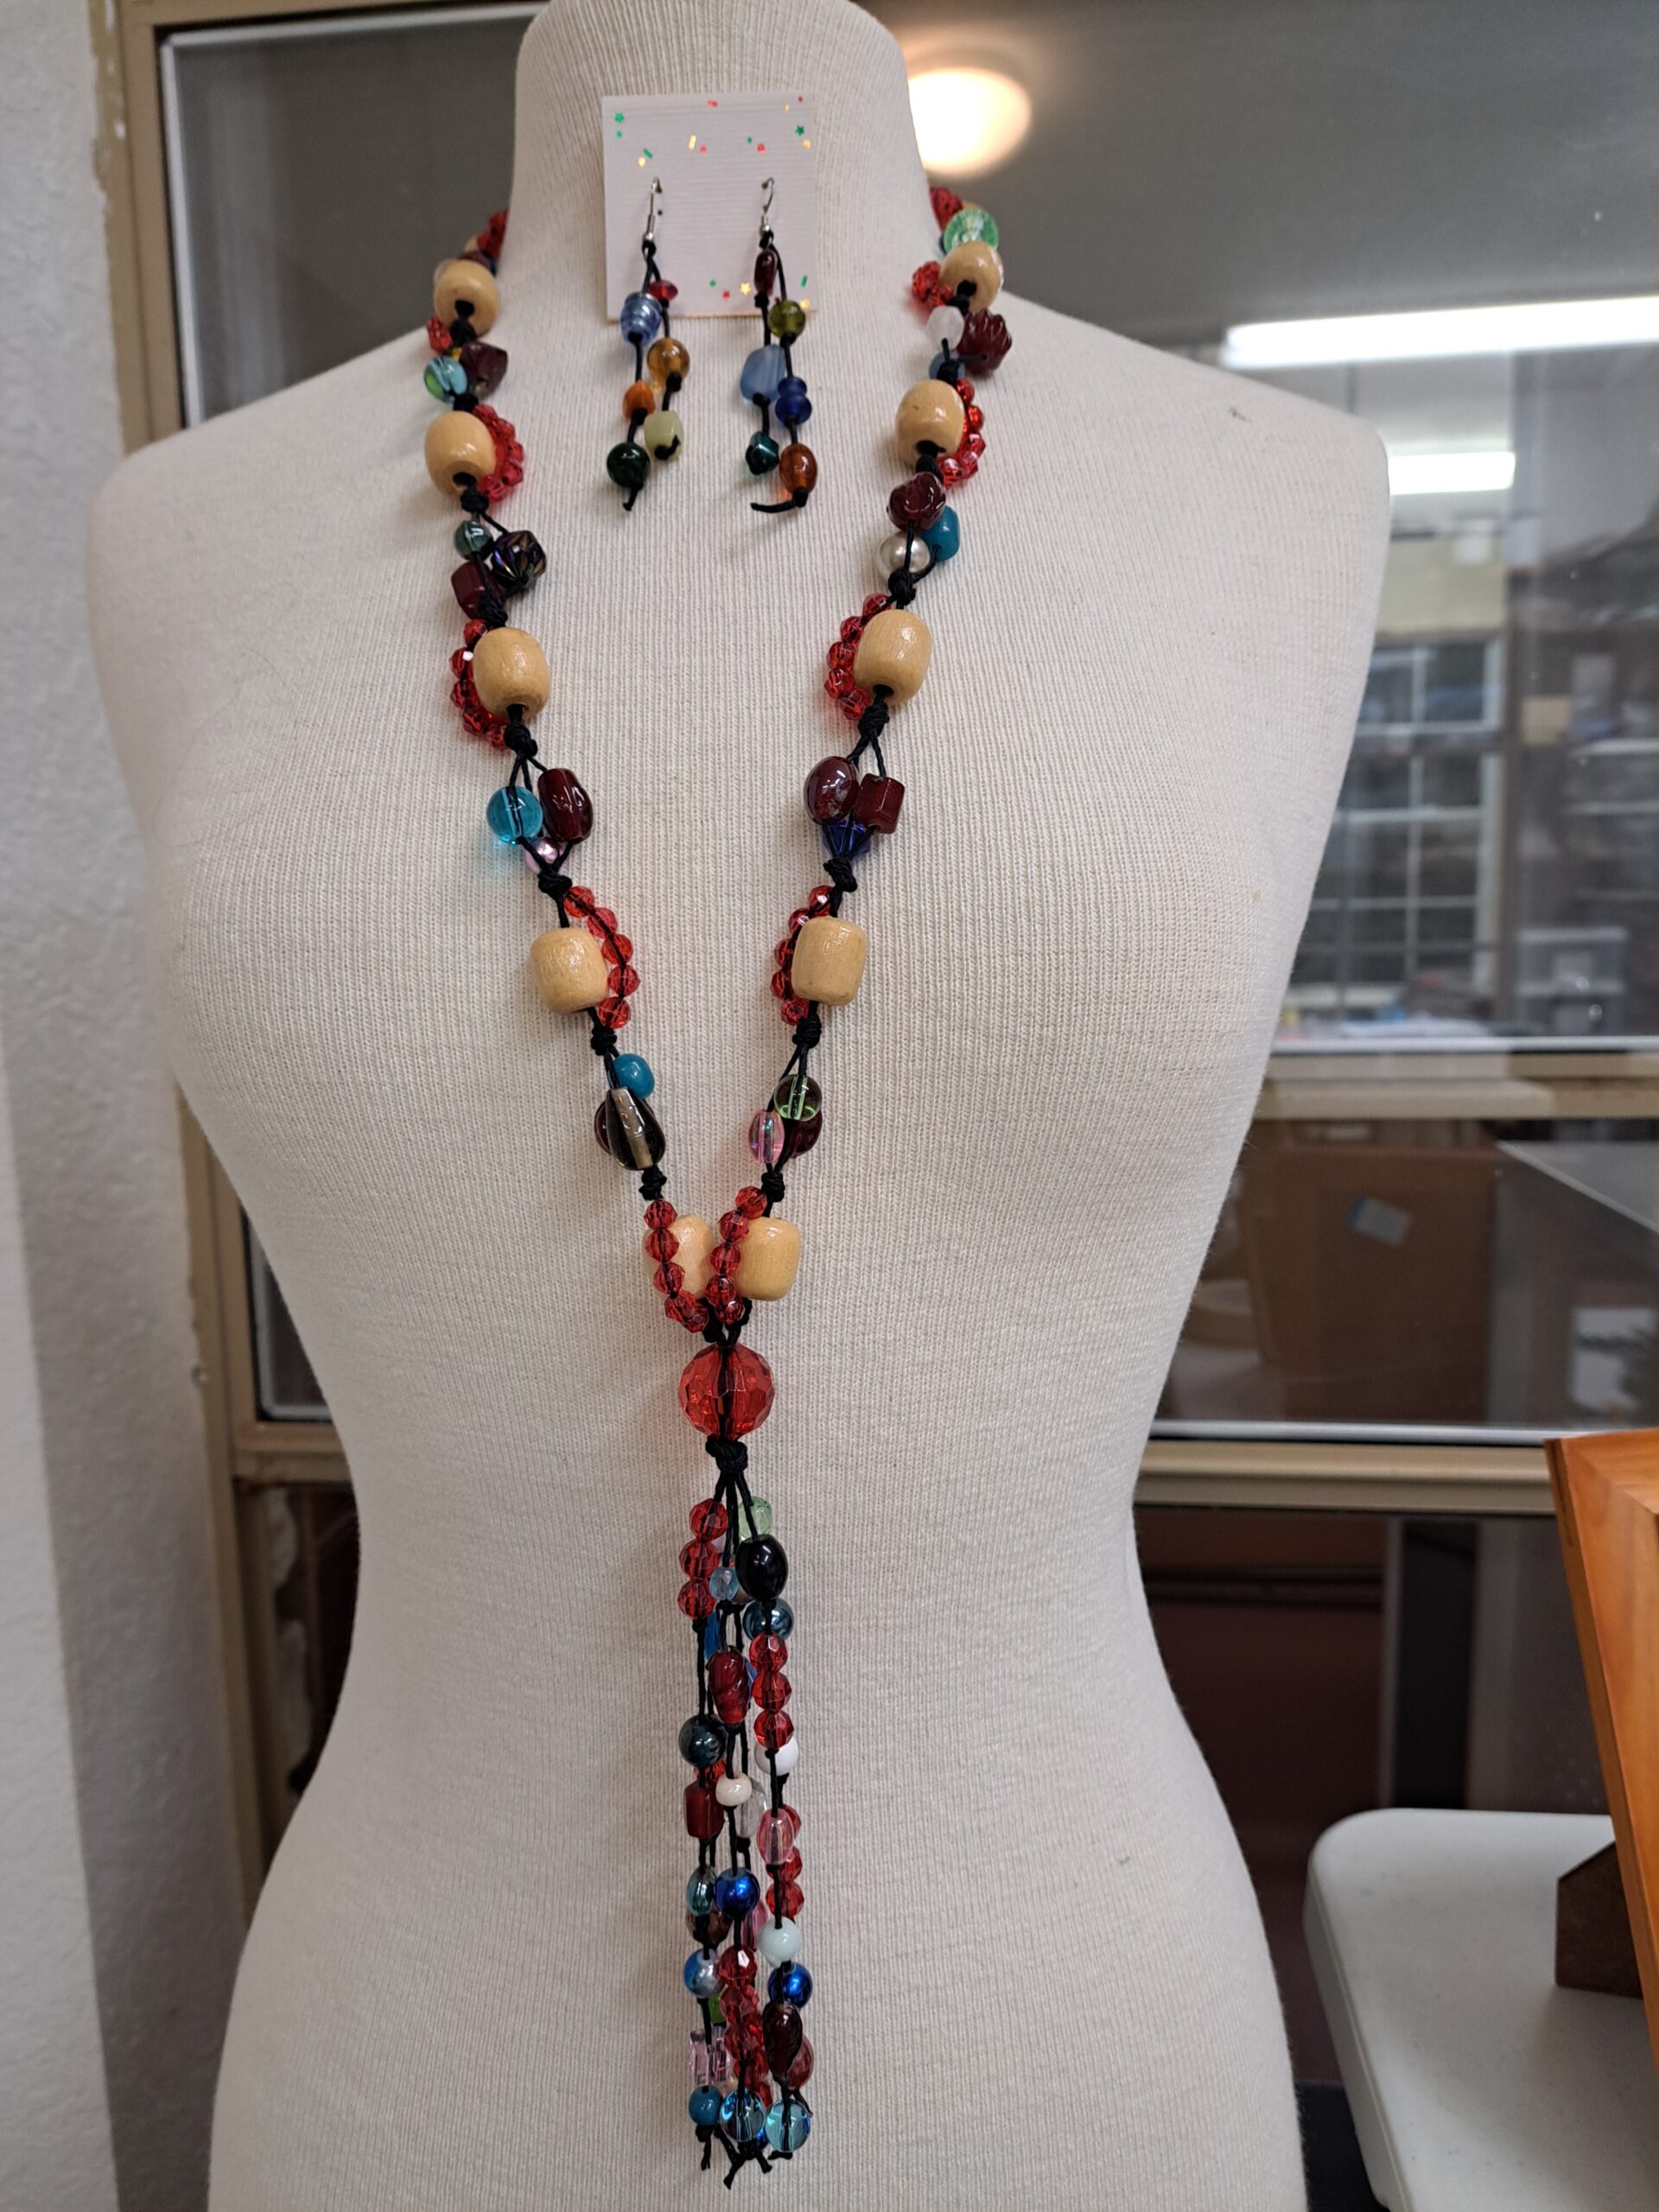
Beaded Hemp Necklace and Earrings
Friday, March 20, 2026, 1 – 4 PM
6208 Westover Drive, Pecan Plantation, Granbury
$35 All supplies included
Class #2
Coming Soon
Class #3
Coming Soon
back to top
General Information For All Adult Classes
There are so many different kinds of jewelry and such a huge variety of materials one can use to create them. So, I’ve attempted to give a brief description here of some basics in costume jewelry-making that apply to all kinds of jewelry and lay some groundwork for any jewelry class you may choose to take. We’ll focus on the necklace, since it is the center of most jewelry sets.
Shapes or Styles
First, there are a just a few basic shapes or styles for necklaces…I’m calling them ”O”, “U”, “V” and “Y”. Let’s expand on this a little:
The “O” necklace is 16-18 inches in length and fits around the neck in a circle. Short necklaces and chokers are examples. (Bracelets also fall under this category). You can arrange the beads any way you want them, but generally you alternate larger and smaller beads in a continuous pattern. If you use all large beads as in the “Lisa Simpson” necklace, you’ll find your necklace a bit stiff, just as in a bracelet if you don’t use seed beads between your larger beads. We’ll make a bracelet on this principle in the Basic Jewelry-Making Class, along with a matching pendant necklace and set of earrings.
The “U” necklace drapes on the chest in the form of a “U” and can be any length from say 20-60 inches. The length, size and arrangement of the beads will determine whether or not this style hangs as a nice “U” shape or attempts to pull down into a rough “V”. The long ones are often doubled and worn as two shorter “U” necklaces. If you want a nice “U” shape, alternate your bead sizes and stick with about a 36-38 inch length with a clasp that can still be opened to allow you to make a nice double “O” shape when you want it. You need large and small beads that compliment one another, but they can be arranged randomly or in a pattern where both sides are exactly the same, whichever you prefer. I like to allow between 2 l/2 – 4 inches between the large beads, measuring the distance between these large beads from center to center.
The “V” necklace is one that comes to a “V” on the chest. Long, short, it doesn’t matter. It must have something heavy to pull it into a neat “V”, usually a pendant of some kind. It doesn’t have a tail. The pendant just completes the “V”. You generally want to keep the pattern the same on both sides for this shape necklace.
And finally, the “Y” necklace is a “V” with a tail, just like in the letter. Bead pattern is important in this style. 42-44 inches is a nice finished length, including the tail, but being tall, I prefer about 48”. You generally need 7-9 large beads with some supporting smaller beads around and between them and both sides usually need to be the same. When you get to the 7th or 9th large bead, you run both sides of the wire through one large bead and the surrounding smaller beads in your pattern and then bead the wires hanging down to create the tail. Check the size of the holes in the beads before you get to this part to be sure your 2 wires (or more in some patterns) will go through all of them. A bead reamer can enlarge the holes in many beads, but not always. You can make this necklace with or without a clasp. It can be made with one or multiple strands. You need to put crimps on the wire about half way down the pattern on each side, just before you come to the place where you run both sides through the same beads, and at the end of each strand of the tail. Also, before you bring your two sides together through one set of beads, and as you begin your tail, you’ll need to use a couple of seed beads or other very small beads on your wires so they will feed in and out evenly and not throw your pattern off.
Though I’ve simplified necklace definitions by using these four letter shapes, a good website to look over that gives many good examples in each category is COW: NECKLACE STYLES AND DEFINITIONS.
Design
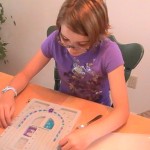
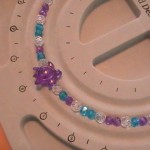
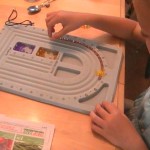
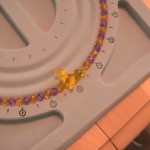
The dictionary defines design as “A plan or drawing produced to show the look and function or workings of a building, garment, or other object before it is built or made.” So in jewelry-making, design is your over-all plan. Beading boards and jewelry display easels will be provided in all classes to help you lay out your design and see how it will look on your “model” as it is developing and when it is finished.
Pattern
How you arrange your beads and other objects on one or more strands of beading material is your pattern. The old-fashioned way to make most jewelry was to hang some kind of pendant on a chain or make a beaded necklace with graduated bead sizes from the smallest at the clasp to largest at the center of the necklace, often having 2 or more strands with beads graduated in the same manner. Though no longer popular today, these graduated, multi strand necklaces provide many good beads in a variety of sizes to create beautiful modern jewelry sets, as you’ll discover in our intermediate class.
Beads
Beads are generally defined as feature or focal beads and supporting beads when considering your pattern. Usually feature beads are large, say 14-20 mm but they can be smaller or larger. They are just the main beads, sometimes multi colored, sometimes solid colored. You choose the rest of the beads to compliment the feature beads you have selected. The smallest beads are usually seed beads and range in size from 6-11 or so, 11 being the tiniest seed beads. A caliper is a handy tool for measuring bead sizes but you can just estimate size if you don’t have one.
Balance
Balance is an important factor in jewelry-making. Using too much glass and metal can make your pieces too heavy. All wood and acrylic might make it too light to hang nicely. Use a variety of sizes, shapes and weights for the best results.
Beading Materials
Beading materials can be wire, waxed cotton, silk, hemp, leather cord and so forth. The basic and intermediate classes teach beading on wire, using crimps to secure the closure pieces on each end. Beading wire is usually 7 braided wire strands with a plastic coating. The diameter varies. You’ll need about .015 inch diameter for multiple strands when making a “Y” necklace so all the wires will fit through your beads. .019 inch wire is good for one strand, general beading and when using beads that are fairly heavy. Though there are many kinds of stringing materials, this type of beading wire is the strongest, yet still drapes nicely. It is used in the majority of fine jewelry as well as higher quality costume jewelry.
Findings
Findings are the many small metal components needed to complete a jewelry piece…clasps of all kinds, jump rings, split rings, eye and head pins, earring wires, pendant bales, etc. You’ll be introduced to the different components and see how they are used in the various classes.
Tools
Tools are many and varied in jewelry-making. Without having to purchase any as you begin, you will learn to use a large range of pliers, cutting, shaping, and measuring tools.
Jewelry-Making Suppliers
Supplies for all the classes on this website are included in the tuition. However if you enjoy your first class I guarantee you’ll be shopping for some of your own supplies and materials if you aren’t already. Michael’s and Hobby Lobby are good sources, even Wal-Mart, but if you get into jewelry-making more seriously, a good supplier is Fire Mountain Gems. They often run sales and have discounts depending on how many items you buy. They also have live chat so you can ask the experts before you buy. E-bay is another on-line source but it’s tedious and products may not always be satisfactory or guaranteed.
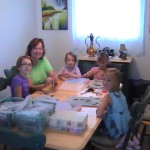
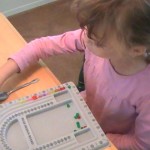
Children’s Classes
Schools, churches, libraries, and other organizations can arrange to have a childrens’ class at their location. Please use the Contact Us form or call 417-252-7477 if you’d like to schedule a class. In our children’s classes we’ll use a wide variety of colorful acrylic beads and stretchy nylon cord to create a necklace and bracelet. Children will choose their own colors and bead arrangement and learn to tie and glue a square knot to secure their pieces. This class is for children ages 7 and up. The littlest girl in the picture was not participating. The cost is $15.00 per child and includes all materials.